Sore wrists in yoga? My August reflection
- Sam Turner

- Sep 3, 2024
- 4 min read
Hello curious person
As per usual, inspiration hits me for these blog posts at the most inconvenient of times. I have been sitting here for the past couple of days knowing that I need to tap into reflection mode about our theme from August. A little bit of inspiration has hit exactly 41 minutes before I am meant to teach a class.
I never really coined a title for our theme in August so I’m going to simply call it ‘Wrists’. I had completed a workshop that really tapped into the nitty gritty of this area and I wanted to share it immediately for two reasons. Reason 1: It means I can embed this knowledge and circle back the content if I need to. Reason 2: I get excited and immediately want to share it with you. Therefore, we explored all things wrists throughout August.
Throughout my years of teaching, wrists have always been a little complicated. Those of you who struggle do struggle a lot (I’m certain you’re nodding your head right now if you’re one of them), and I’ve had very little knowledge in my arsenal to make this better. This workshop changed that.
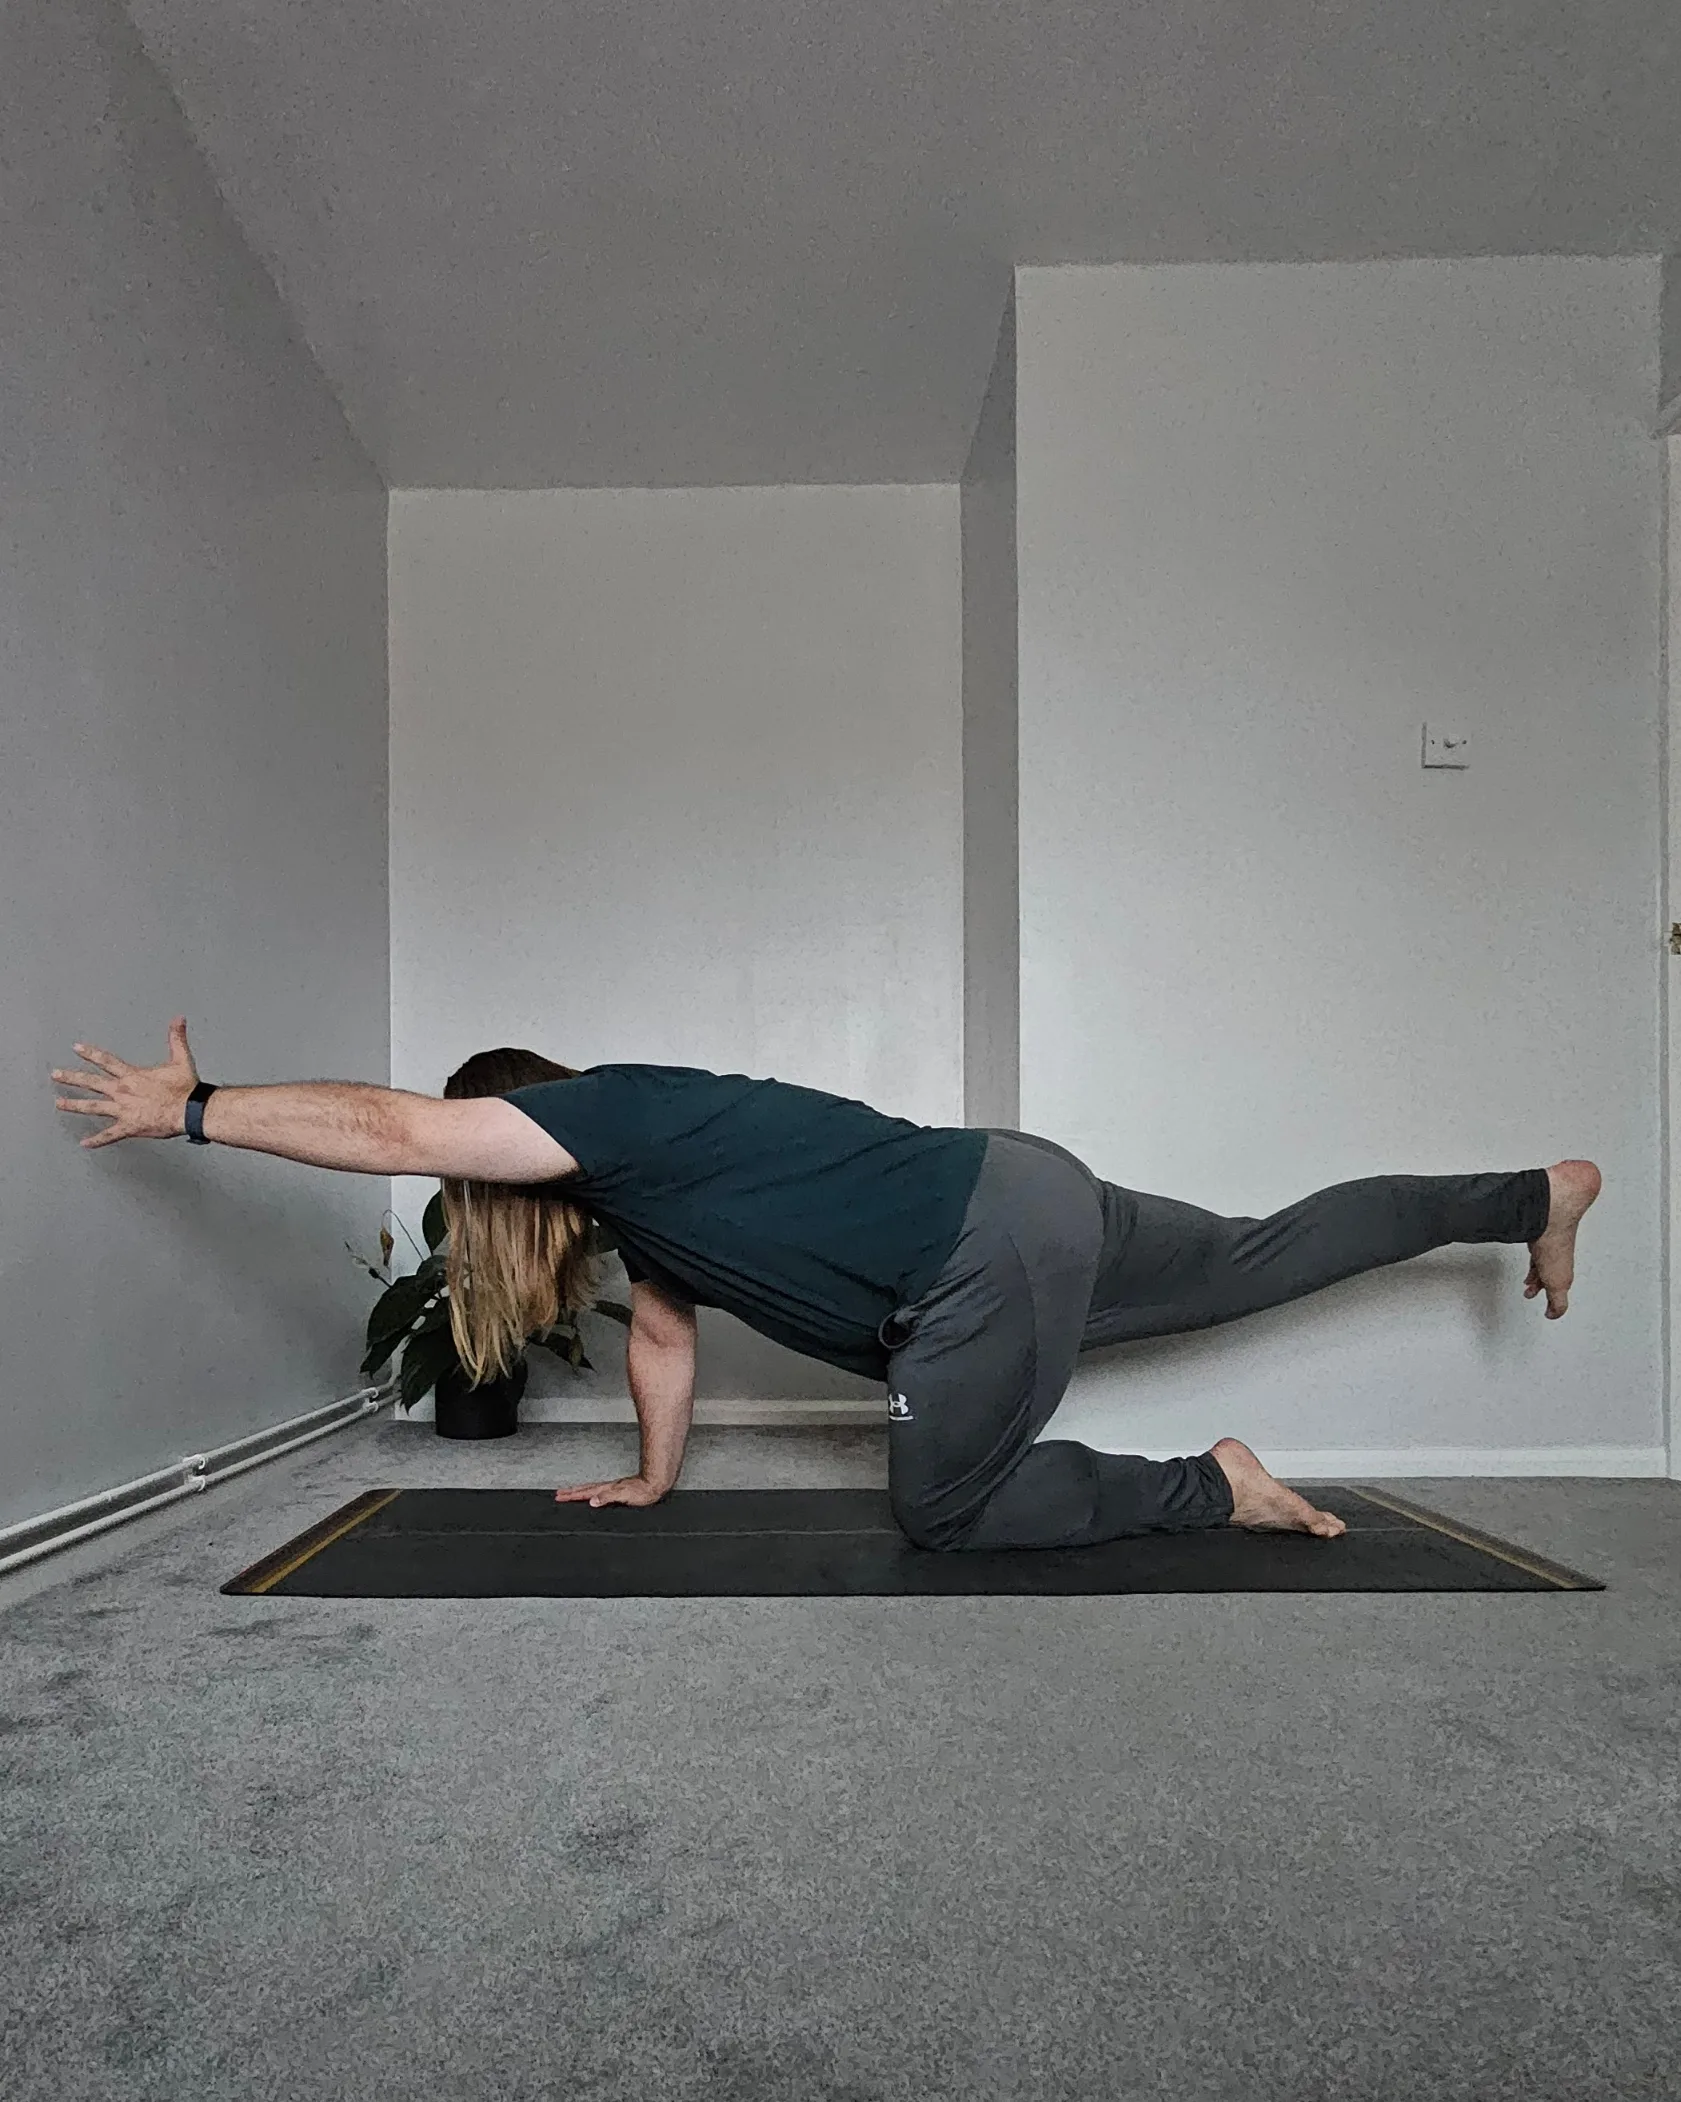
The idea behind the month was to help people feel better connected through their wrists when practising poses from the tabletop family. Therefore, we explored a sequence that expanded every week. We started with both hands on the ground and progressed into more poses with a single hand on the ground. I wanted you to slowly increase load over time with your wrists to strengthen this area.
In theory, this was wonderful. However, I will argue that I picked the worst month to explore this theme. August is an up-down month. Attendance varies throughout and energy levels fluctuate too. I feel that it would have been better placed elsewhere in the year, but the content was pretty awesome.
It was strange to come back to a very tangible theme. We have explored concepts like effort/ease and instinctive movement. These two themes required us to dig deep and connect with our inner landscape. A lot of the focus was on doing what was right for you. This theme, on the other hand (😉), was rooted much more in the physical aspects of the body such as the structures of our bones, the anatomical movements and our sensory perception.
It took some time for me to shift my focus. Once I had found my flow with this, it was actually quite interesting to share, particularly in-person. I could see you were exploring and feeling different areas of your wrist through those moments of massage and joint mobilisation. That you could see that this sensory stimulation was in fact assisting your connection to the ground.
Due to my bad timing, I’ve decided to outline four of the drills we did each week (with an extra one) to help improve weight bearing through your wrists. Keep scrolling to find the list!
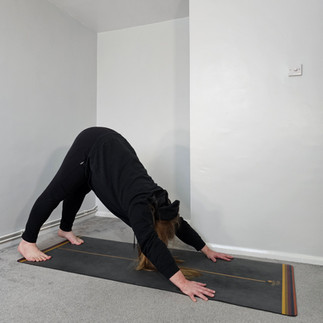
These drills have positively impacted my wrists in tabletop based poses. I ended up teaching this sequence multiple times per week. So if you are looking to develop weight bearing through your wrists, use these drills to find the ones that work for you and practise throughout your week. It might be a single drill or a combination of them, by the way. For example, if you struggle with downward facing dog, then try these different steps and see whether it changes anything. Even if you see a minor shift, keep doing it because a little change can yield big results.
There we have it, we’re leaving our theme of wrists behind as we move into September. As I like to say, “new month, new theme”! We will be exploring openness in our practice as we move through this month. I’ve already taught one class focusing on this and I absolutely adored it.
As always, thank you
Sam
Your middle finger
This one is super simple. When you’re in a pose, where you’re weight bearing through your hand(s), push down through the middle finger
Joint mobilisation 1
Look at your palm
Trace your thumb down the little finger and find the bony, prominent part by the creases of your wrist
Move your thumb a little bit inwards slightly
Pair up your first finger on the opposite side of the wrist
Start to move your hand forwards and backward and use your thumb/first finger to assist the movement
Joint mobilisation 2
Look at the back of your hand
Trace your thumb down the first finger until you reach the wrist (you might find a little dip)
Pair your first finger on the opposite side of the wrist
Start to move your hand forwards and backward and use your thumb/first finger to assist the movement
Self massage
Another simple one. Start by massaging down the centre of your middle finger, through your palm to the crease of your wrist. Do this a couple of times. From there, you can move through a massage of your whole hand, the arm and the shoulder.
Extra: Rotating your arms
Find tabletop
Keep your hands where they are
Turn your arms in/out
Explore the motion and see whether you can feel any changes in your wrist/hand. You’ll find that you might be able to feel a shift in the arches of your hand.
You can also add in drill 1 by pushing down through the middle finger


Comments